

A couple of months ago, I was browsing my new addiction, Pinterest, and I came across one of the most delicious looking cakes I had ever seen. I knew right away, that this would be the cake that I would be making for my wife’s next birthday. Every time I saw it there on my Pumpkin Recipes pin-board, I got more and more excited for her birthday to come. Well, the time finally got here. We celebrated her birthday with her family last night, and let me just tell you… this cake was absolutely a hit. If this tells you anything, her grandma has never talked to me - Not even once in the 2+ years I’ve been a part of the family. But as soon as she was finished with that slice of rich pumpkin-y heaven, I heard my name. In my head, I thought, there is no way this woman is speaking to me. But yes, yes, she was calling me over. Then she proceeded to tell me that this cake was wonderful and that I did a great job. This woman has high standards like you wouldn’t believe, and she couldn’t stop raving about it to me! So I call this cake, The Cake That Broke Grandma’s Silence.
Of course, I can’t take all the credit for this cake. This Pumpkin Crunch Cake was adapted from Chef Dennis over at askchefdennis.com. This cake is just full of spectacular flavor! I did make a slight adjustment from his frosting recipe, and there was a slight adjustment that maybe I should have made with the crunch part of the cake, but for the most part, I followed his recipe.
Pumpkin Crunch Cake
Adapted from AskChefDennis.com
Crunch Topping
3 cups Walnuts, finely chopped
3 cups Vanilla Wafers – 1 box (about 75 cookies)
3 cups Brown Sugar
3 sticks Butter
1. Melt Butter
2. In a food processor, pulse cookies to a fine crumb.

3. Pulse the walnuts to a fine chop. Because my food processor is only a 3 cup processor, I had to put the cookies in a large bowl, rather than just adding the walnuts and processing with the cookies.

4. Add in brown sugar. Again, I just mixed this into a large bowl and kinda worked it with my hands until fully blended together.

5Add in the melted butter and mix together with your hands until you have a crumbly mixture. Now this is one place I will be making a slight adjustment when I make it again. I had just poured in the full 3 sticks of melted butter all at once. What I ended up with was more of a gooey, caramel-y like texture. I suggest pouring in approximately 2/3 of the butter (just eye-ball it) and mixing it together with your hands. If the ingredients aren’t coming together, add just little splashes of the butter at a time until you come up with a crumbly, but slightly wet mixture. You want it to be able to be pressed into a cake pan and stay together, like you would a graham cracker crust.
6. Divide the mixture into 4 9-inch round cake pans, pressing into the bottom and spreading it evenly into the cake pans. Reserve about 2 cups of the mixture, which will be baked to use on the sides of the cake.
7. Set pans aside and begin the cake.
8. Pre-heat oven to 350 degrees
Pumpkin Cake
1 ¼ cup Sugar
1 ½ sticks of Softened Butter
1 16 oz can Solid Pack Pumpkin (not pumpkin pie mix)
2 ½ cups Flour
½ cup Greek Yogurt
1 Tablespoon Pure Vanilla
1 Tablespoon Pumpkin Pie Spice
2 ¼ teaspoons Baking Powder
¾ teaspoon Baking Soda
½ teaspoon Salt
3 Large Eggs

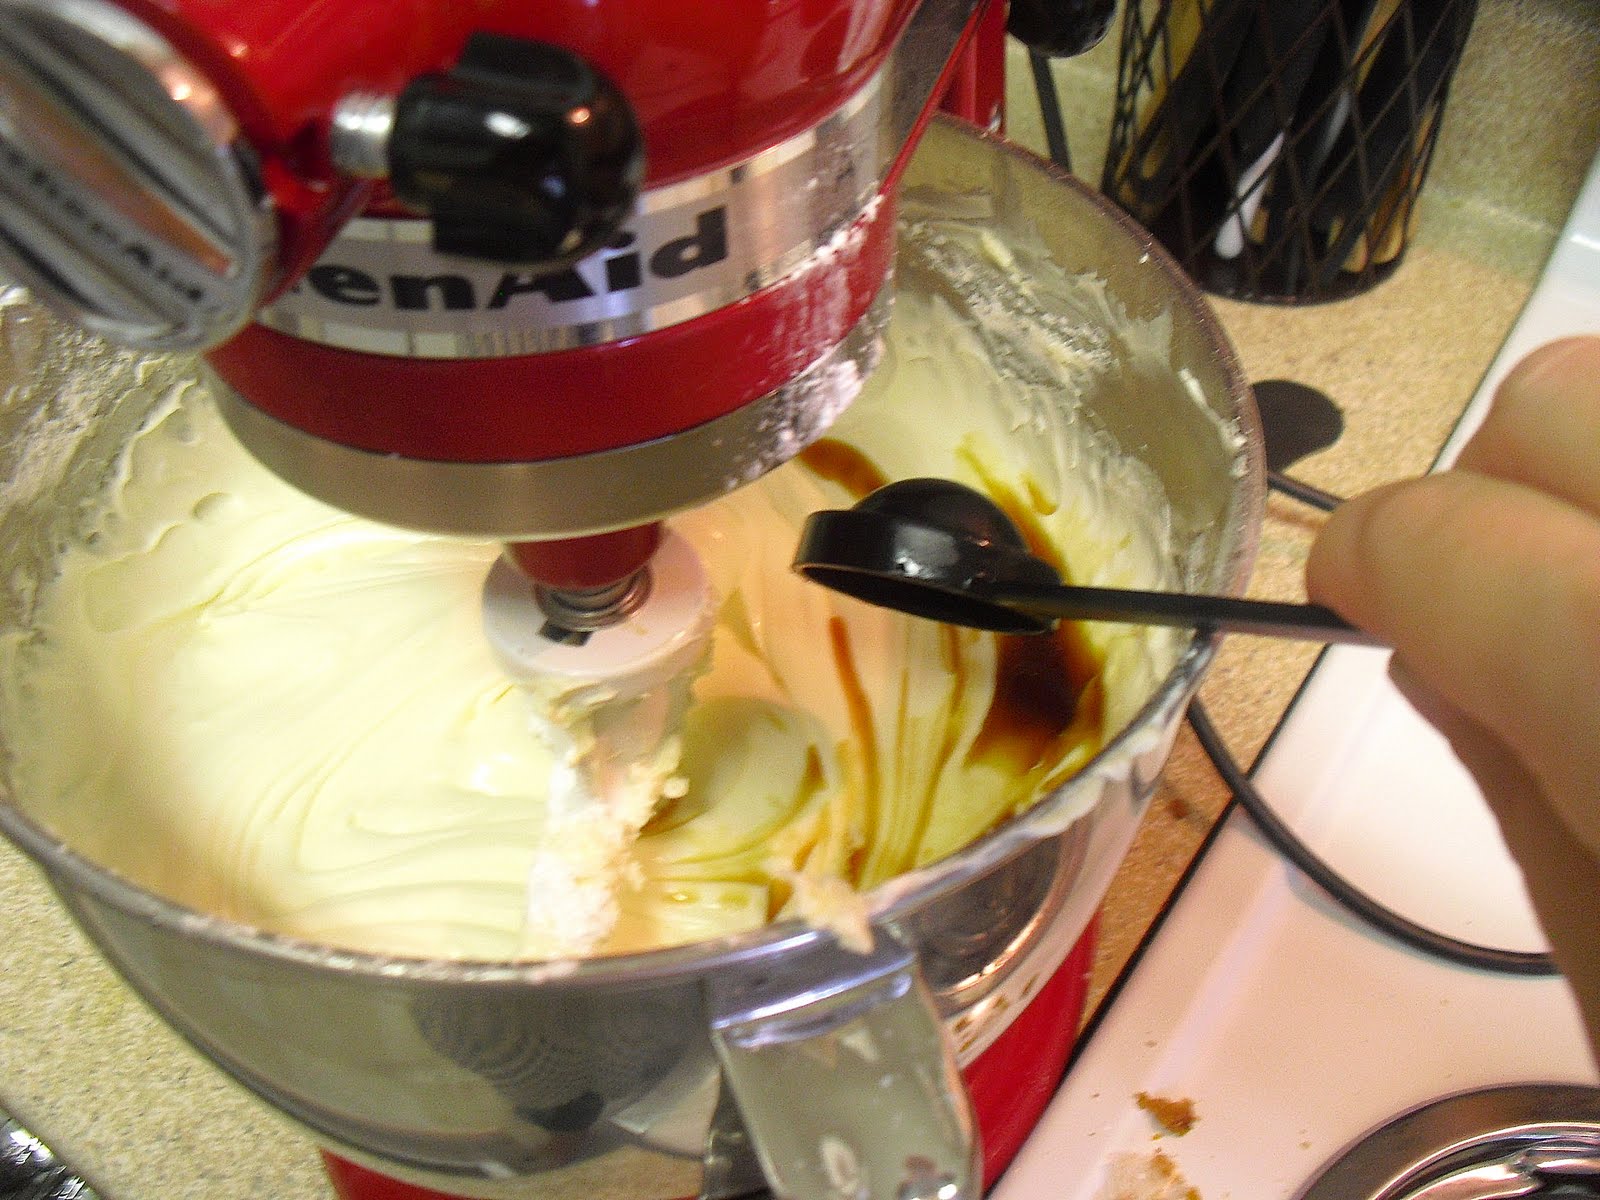
1.In your mixer, beat sugar and butter for about 5 minutes until light and fluffy, scraping down the bowl frequently, about every minute or so.

2Add in the pumpkin and all the rest of the ingredients, except the eggs. Mix until just blended.

Add in the eggs, one at a time, until just blended.

4 Divide batter equally into your 4 prepared cake pans, smoothing it out, making it as even as possible.

5 Place the remaining 2 cups of crunch mixture that you had set aside in another cake pan or pie dish, and bake for the same amount of time as the cakes.
6 Bake in a 350 degree oven for about 20-25 minutes, or until a toothpick (or nifty cake tester) inserted in the center comes out clean.

Allow pans to cool about 10 minutes, then turn them out onto wire racks and allow to completely cool.

Break up the extra crunch mix to very small bits to use to decorate the cake with. As you can see in the final product pictures, I wasn’t able to get the very small bits of crunch because I used too much butter and ended up with a goo. If you start with just a bit of butter and add as needed, you should be fine and be able to get the small bits you’re looking for.
Cream Cheese Frosting
4 8oz packages of Cream Cheese
4 sticks of Softened Butter
1 pound of Powdered Sugar
1 Tablespoon Pure Vanilla

Yes, I know that there are 6 sticks of butter in the picture. I realized my mistake after I took the picture. Note that I only used the 4 sticks of butter listed in the recipe.
Whip the cream cheese and butter until very smooth and creamy. I never said this was a healthy frosting recipe!

Slowly add in the powdered sugar while the mixer is on the low setting (this is where my pouring shield came in VERY handy. It was awesome to not have a huge powdered sugar mess when making frosting!!).
Add in the vanilla and mix well. Set aside until needed
After your cake is completely cooled, begin frosting the layers and putting the cake together. After you have assembled all the layers with some frosting between them, start to spread the remaining frosting on the sides and top. When finished frosting, coat the sides and top with your extra crunch mixture.


You may have noticed a new addition to my little family.
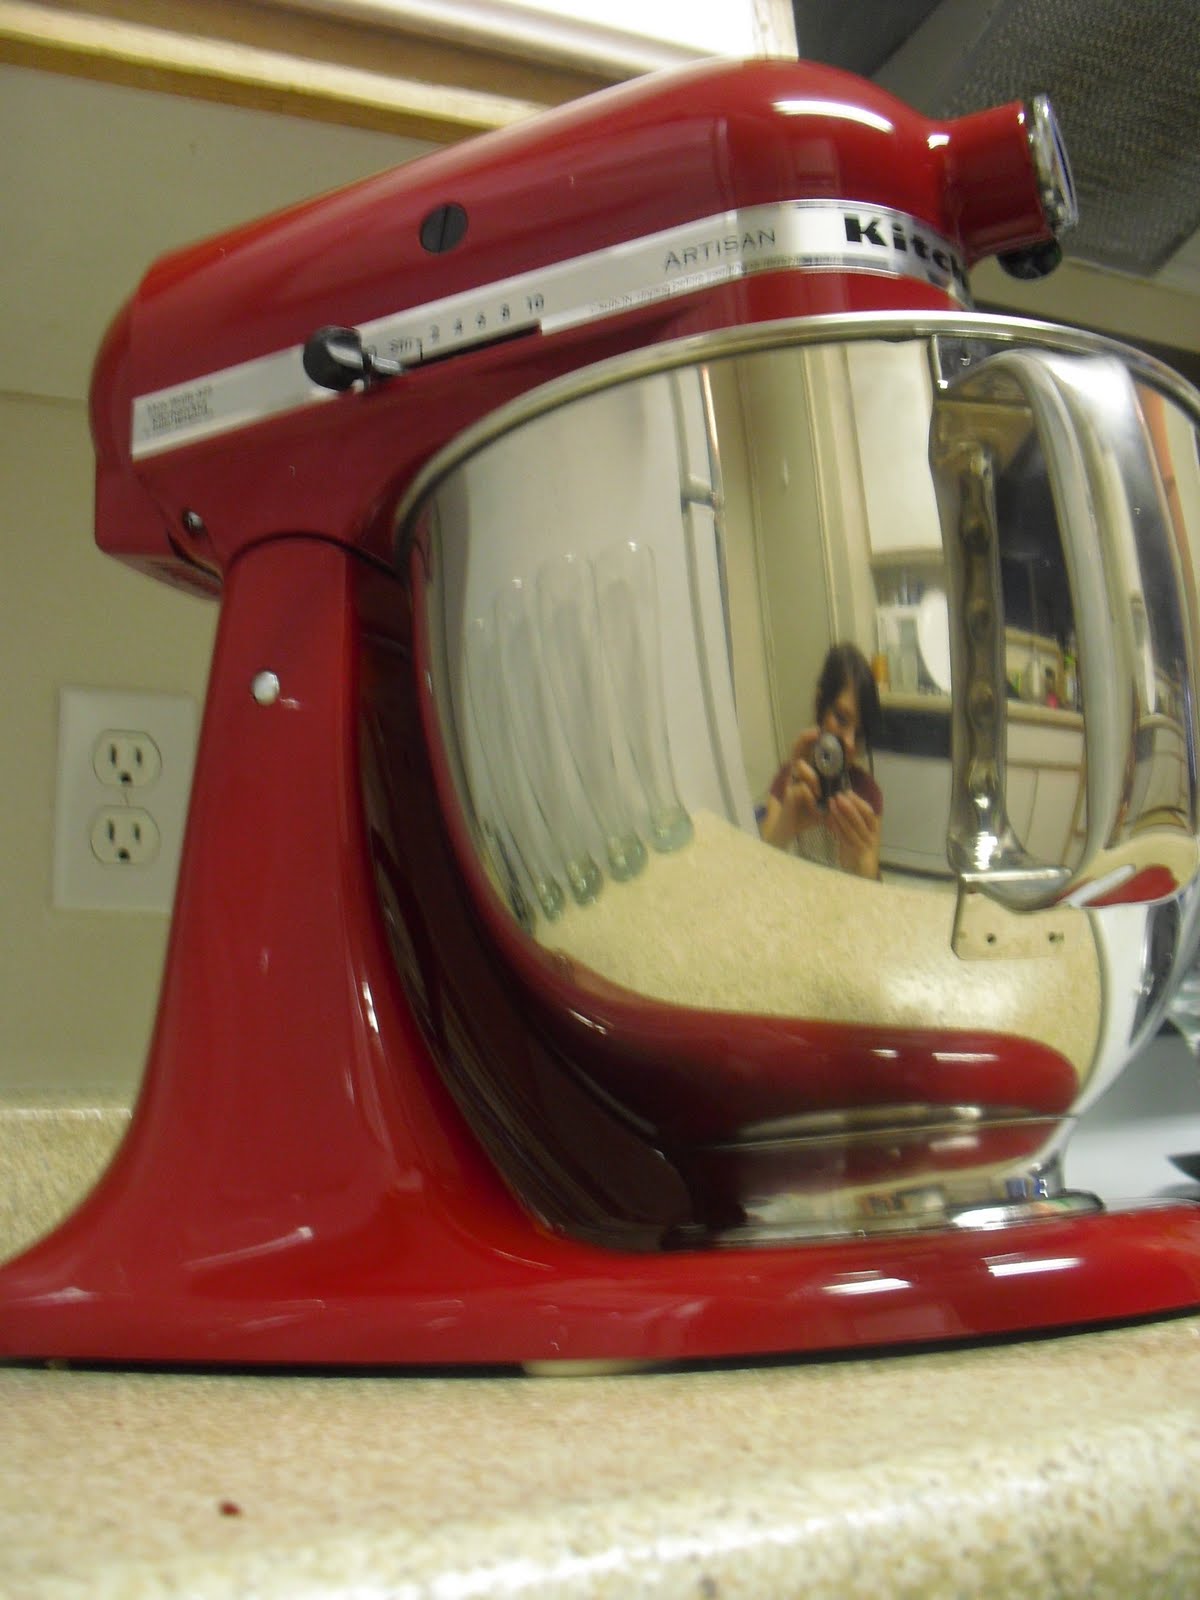
Isn’t she a beaut?! I’ve washed and shined my pretty little KitchenAid more than I do my car. I’ve wanted a stand mixer (a KitchenAid, to be exact) for at least 2 years, since I’ve found a new love for baking and cooking. When Tiffani told me I could get one, I couldn’t believe my ears. I couldn’t believe I was actually going to be able to get one! So we went and picked her up earlier this week, and I was so excited that I would be able to make this great cake with my new mixer. Up until this point, I’ve been using an inexpensive hand mixer that seems to get pretty angry when it has to do a tough job. When you start smelling the motor burning, you know it’s time to upgrade.
Yesterday, I had a moment. I was making the cream cheese frosting, I had my cute new apron on, I was listening to great music, and I may or may not have been dancing. Something hit me though. This is what I love doing. This is what I’m supposed to be doing. Cooking. Baking. Creating yumminess that I can share with other people. I know I have a long way to go, but in the end, this is what I want to spend my time doing. I love making home-cooked meals for my family every night. I love taking treats to work. I love making cakes for birthdays or pies for holidays. This is my passion. I haven’t been this passionate about a hobby since I was deep into piano lessons and recitals over 15 years ago. (wow, I’m old…) I hope to blog more about my creations. I want to share my passion with others. You’ll have to excuse my poor photography though. I don’t have the best lighting in my kitchen, so they’re full of artificial light, and I’m just using a point-and-shoot for the time being. Anyway, excuses aside, I hope you enjoy!

No comments:
Post a Comment