

Pie crust seems to be something that people are scared of. And I have to admit that I used to be one of those people. But now, I have realized that pie crust can be easy. You just have to keep a few things in mind. I hope to convince you that you do not need to be scared of pie crust.
I have tried many different so-called PERFECT pie crusts. I have heard tips and tricks all over the place. With all the recipes I've tried and the pie class I've been to, I feel like I've finally figured out the winning combination to creating an unbeatable crust that will hold whatever sweet pie filling you choose.
Perfect Pie Crust
makes a double crust
3 cups flour
2 Tablespoons sugar
1 teaspoon salt
10 Tablespoons unsalted butter, cold
10 Tablespoons vegetable shortening
1/4-1/3 cup ice water
 Alright, here's your first key to pie crust success. Everything goes in the fridge for at least a couple hours before starting. This includes your bowl, your pastry blender, your flour and sugar... everything that you will be using. Warmth is your enemy in pie crust. Remember this!
In a large COLD bowl, combine the flour, sugar, and salt. Add the butter and shortening. I have a nifty little trick for butter. Grate it with your cheese grater! Hold onto the butter with the wrapper still on the end so as not to warm the butter too much with your body temperature.

 Mix this all together with a pastry blender until the consistency of coarse cornmeal. Small chunks of butter and shortening is what you're looking for.... Did I mention, this pie crust will probably require an extra 30 minutes on the elliptical!
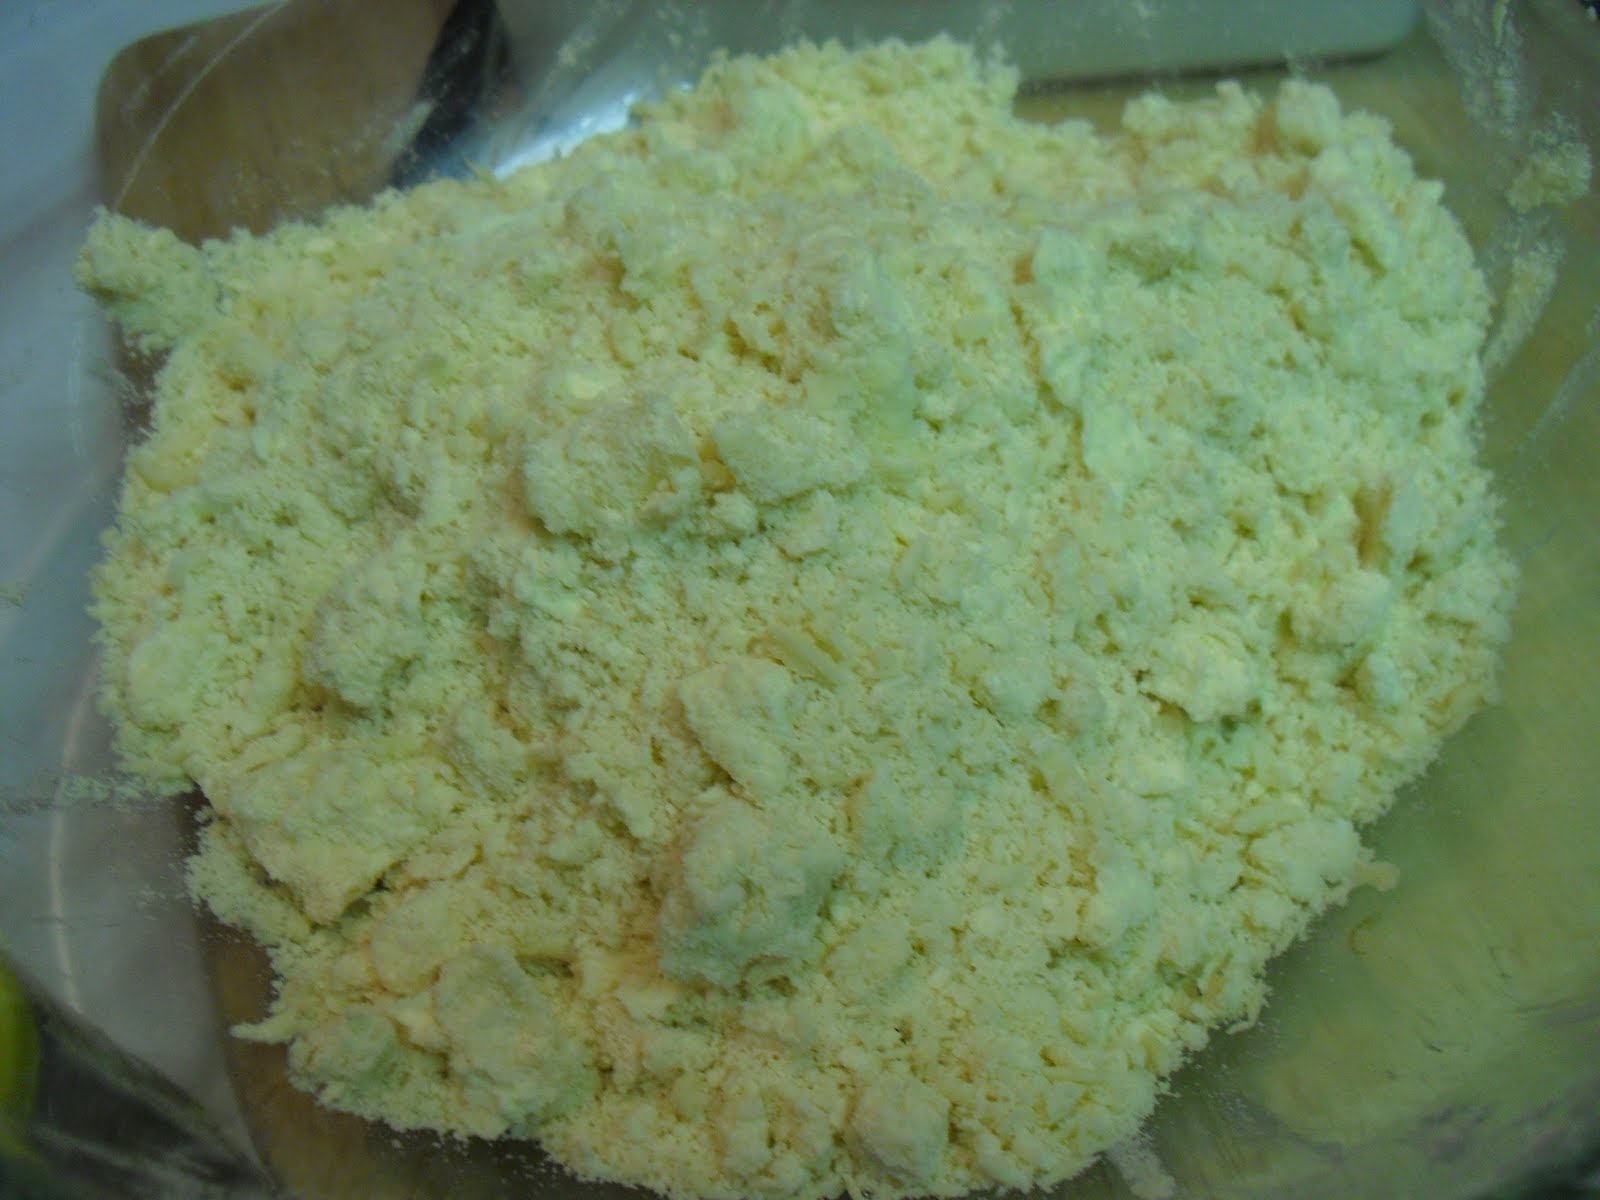 At this point, add your ice water. Start with just about a 1/4 of a cup. Combine with a fork until just barely blended. If it's not coming together completely, add just a bit more water! A little goes a long way. Too much water and over-mixing will give you a thick, tough, and non-flakey crust. This is what you DON'T want. Use the fork to mix together until you're ready to form into 2 equal discs. That's the only time you should be using your hands to mix. Mixing with hands = warming of the dough = bad.
Once you have formed into 2 discs, wrap in plastic wrap or parchment paper and refrigerated for 1/2 hour. This will re-chill the dough before you start rolling it out for your pie. I used to make the mistake of thinking you could make the dough and then refrigerate or freeze for days on end. No - not an option. Your crust won't be fresh, it'll be tough, and did you know it starts to turn a GRAY color?! not appetizing! This crust is easy enough to pull together that there is definitely time to whip it up right when you need to bake it. No need to prepare ahead of time.

So after your 1/2 an hour has passed, generously flour your counter space. Or if you're like me and don't have much counter space, move your operations to your kitchen table. Place your disc of pie dough on the flour and sprinkle a little more flour on top of that. With your rolling pin, roll out in all directions until you have somewhat of a circle shape slightly bigger than your pie pan. Don't worry about the circle being exact - just a general roundish shape.

I then fold the circle in half, and then half the other way so you have a triangle. I should've taken pictures of this, but since I didn't, I'll do my best. Put the point of your triangle in the center of the pie pan and gently unfold. This should center your crust pretty closely.
Fill your pie with your favorite pie filling. If you're at a loss of what to fill it with, try out my Apple Pie! You won't be disappointed. Roll out the second pie crust and place on top. Or you can make a fun and beautiful lattice-topped crust.
No comments:
Post a Comment